Aug
2013
DVD Project Reader Response
A real challenge in middle school is getting an increasingly large group of apathetic students excited about reading. I don’t mean to say ALL of my students – I definitely have some voracious readers – but there is always a hefty, vocal group that seems proud to proclaim indignantly, “I don’t read.” Well, harumpf. What’s a teacher to do with that kind of attitude? I understand that as an English Language Arts teacher, it is my job to get students excited about reading. Confetti, cartwheels, iPhone giveaways – whatever it takes! Okay not really. I’m not a performer, I’m not rich, and I don’t work miracles. I do my best to give students authentic, fun, motivating reasons to pick up a book (aaaaaand actually read/finish it). Of course I have to give a nod to my favorite teacher-author, Kelly Gallagher, who writes about just this topic in his book Reading Reasons. If you haven’t read it, I highly recommend it!
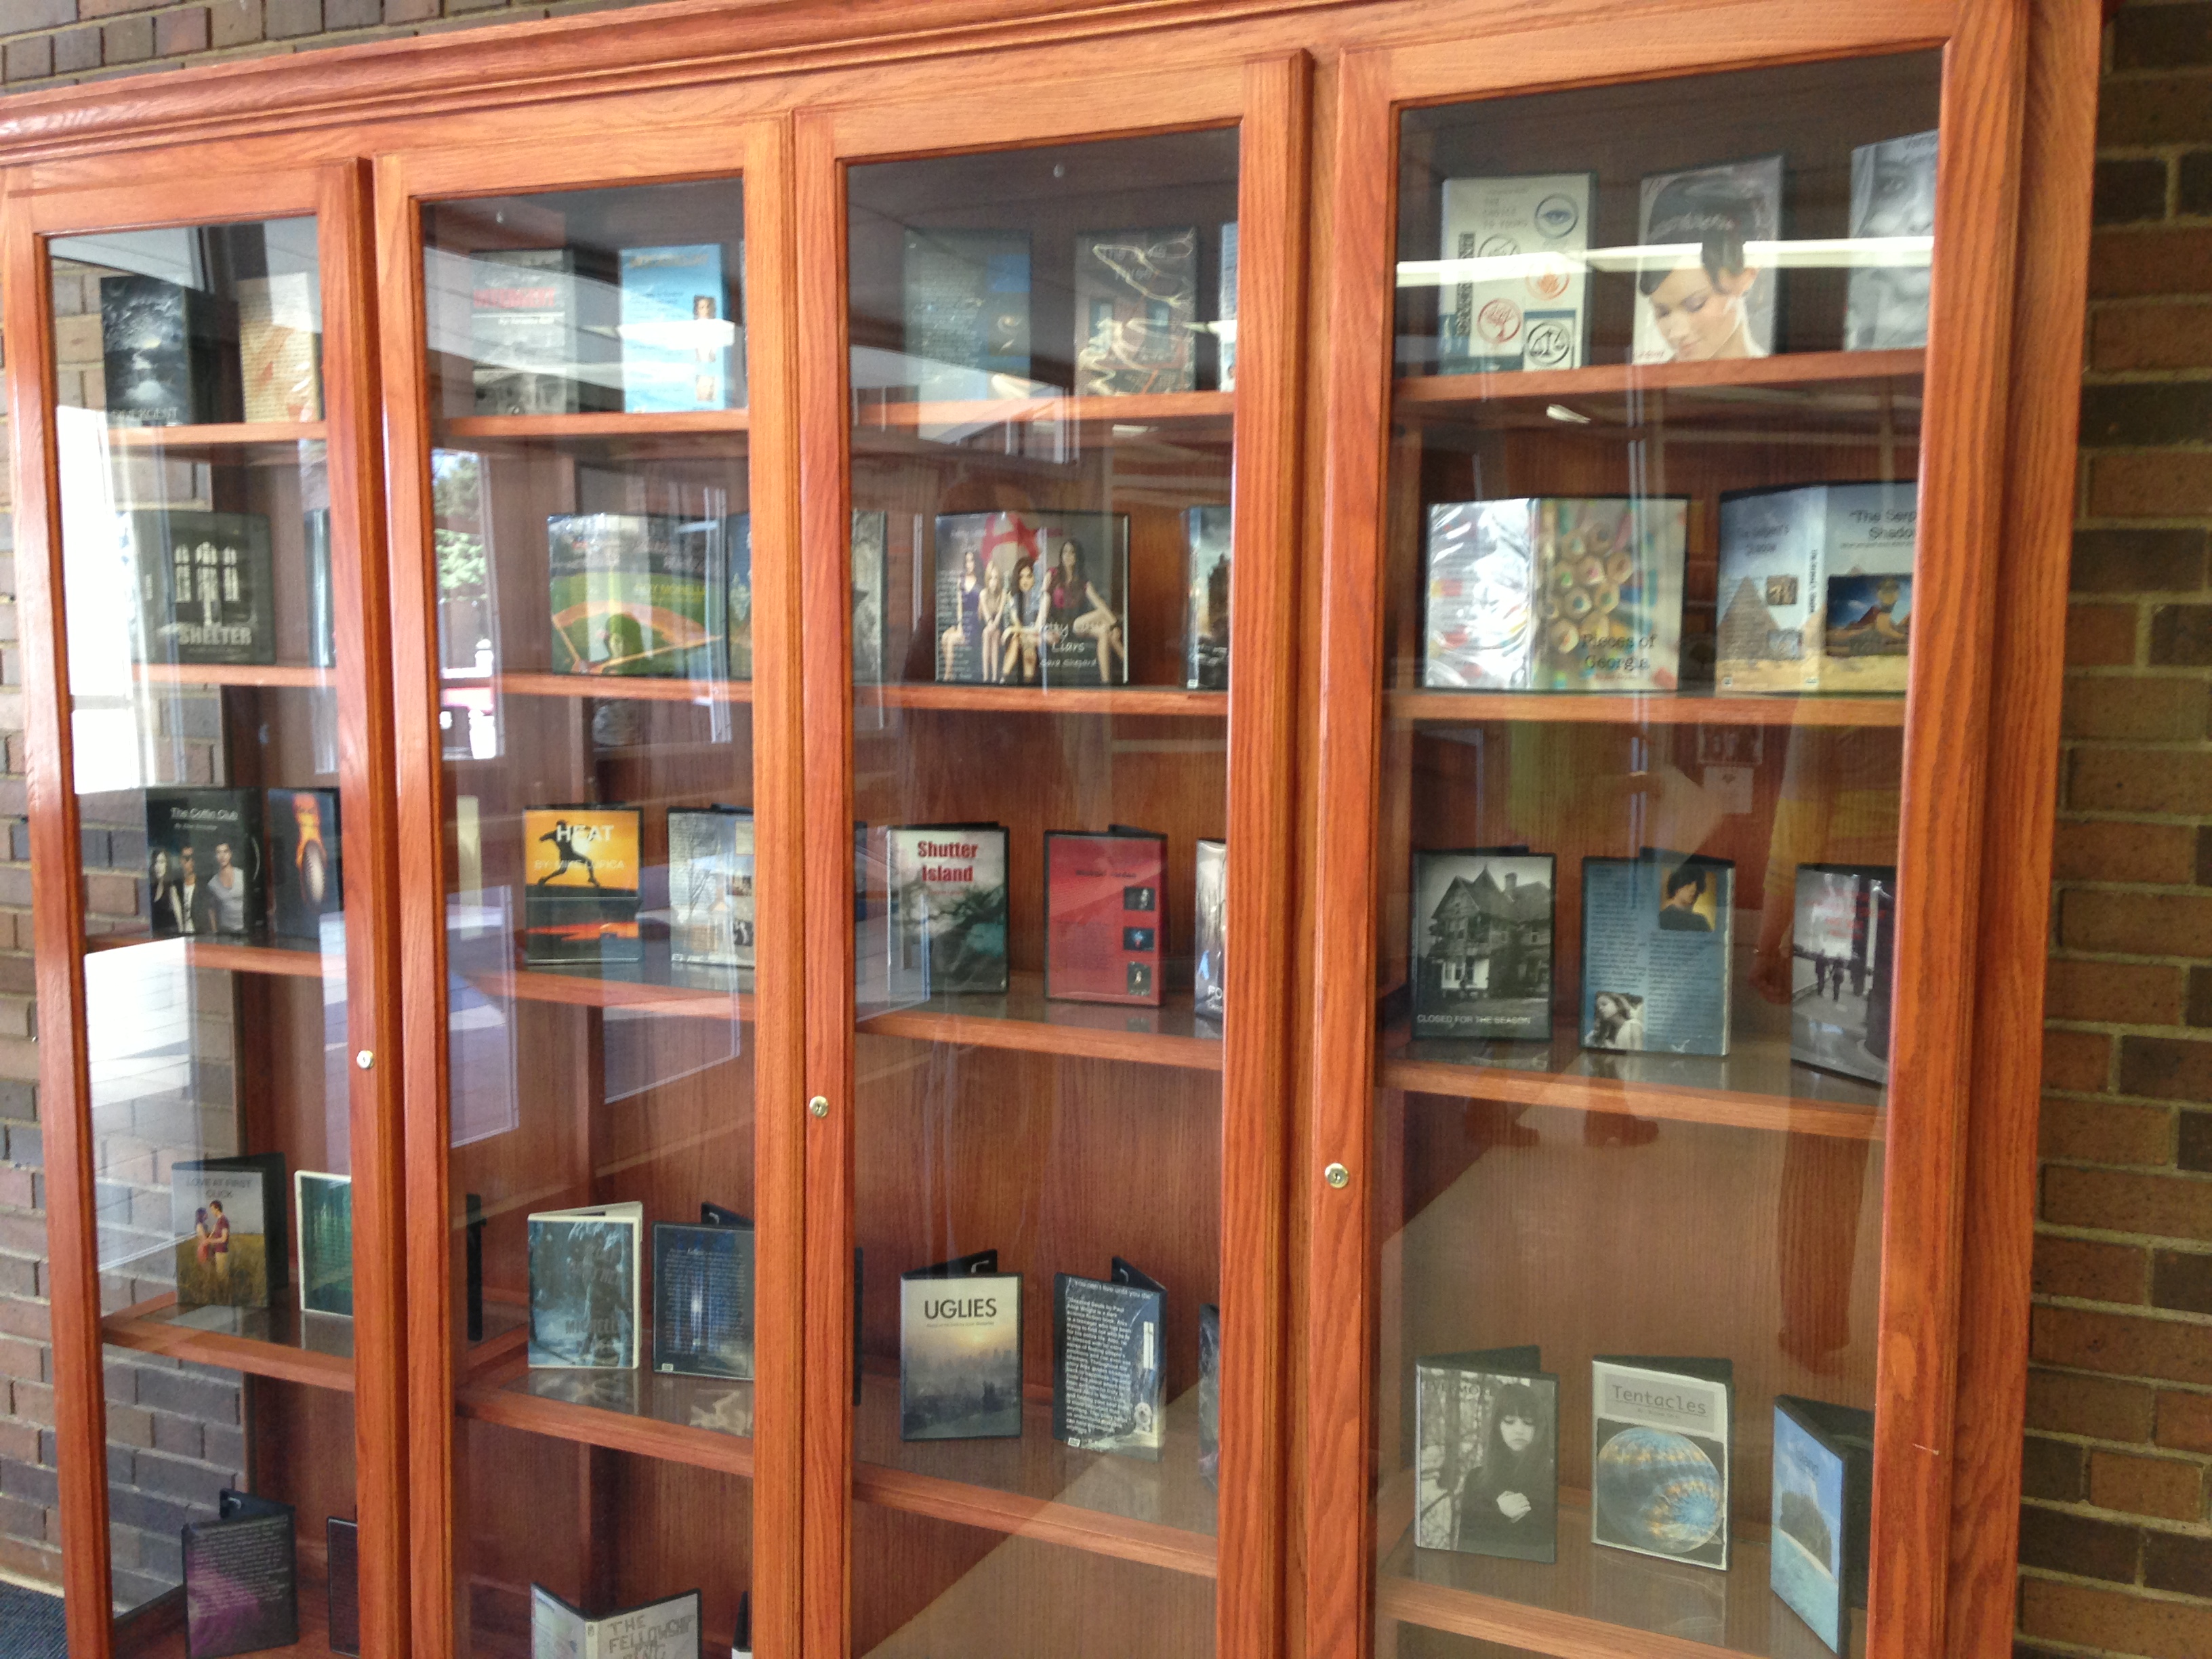
One of the ways I try to motivate students to read is through my DVD Case / Movie Poster project. It is a project with reading, writing, language, expression, and art – a great way to hit multiple Common Core standards at once. This project has lots of elements that get kids excited: technology, critical thinking, creative writing, photography/images, and the critical elements of publication and display. Here is a glimpse of the final project, which is explained in more detail below:
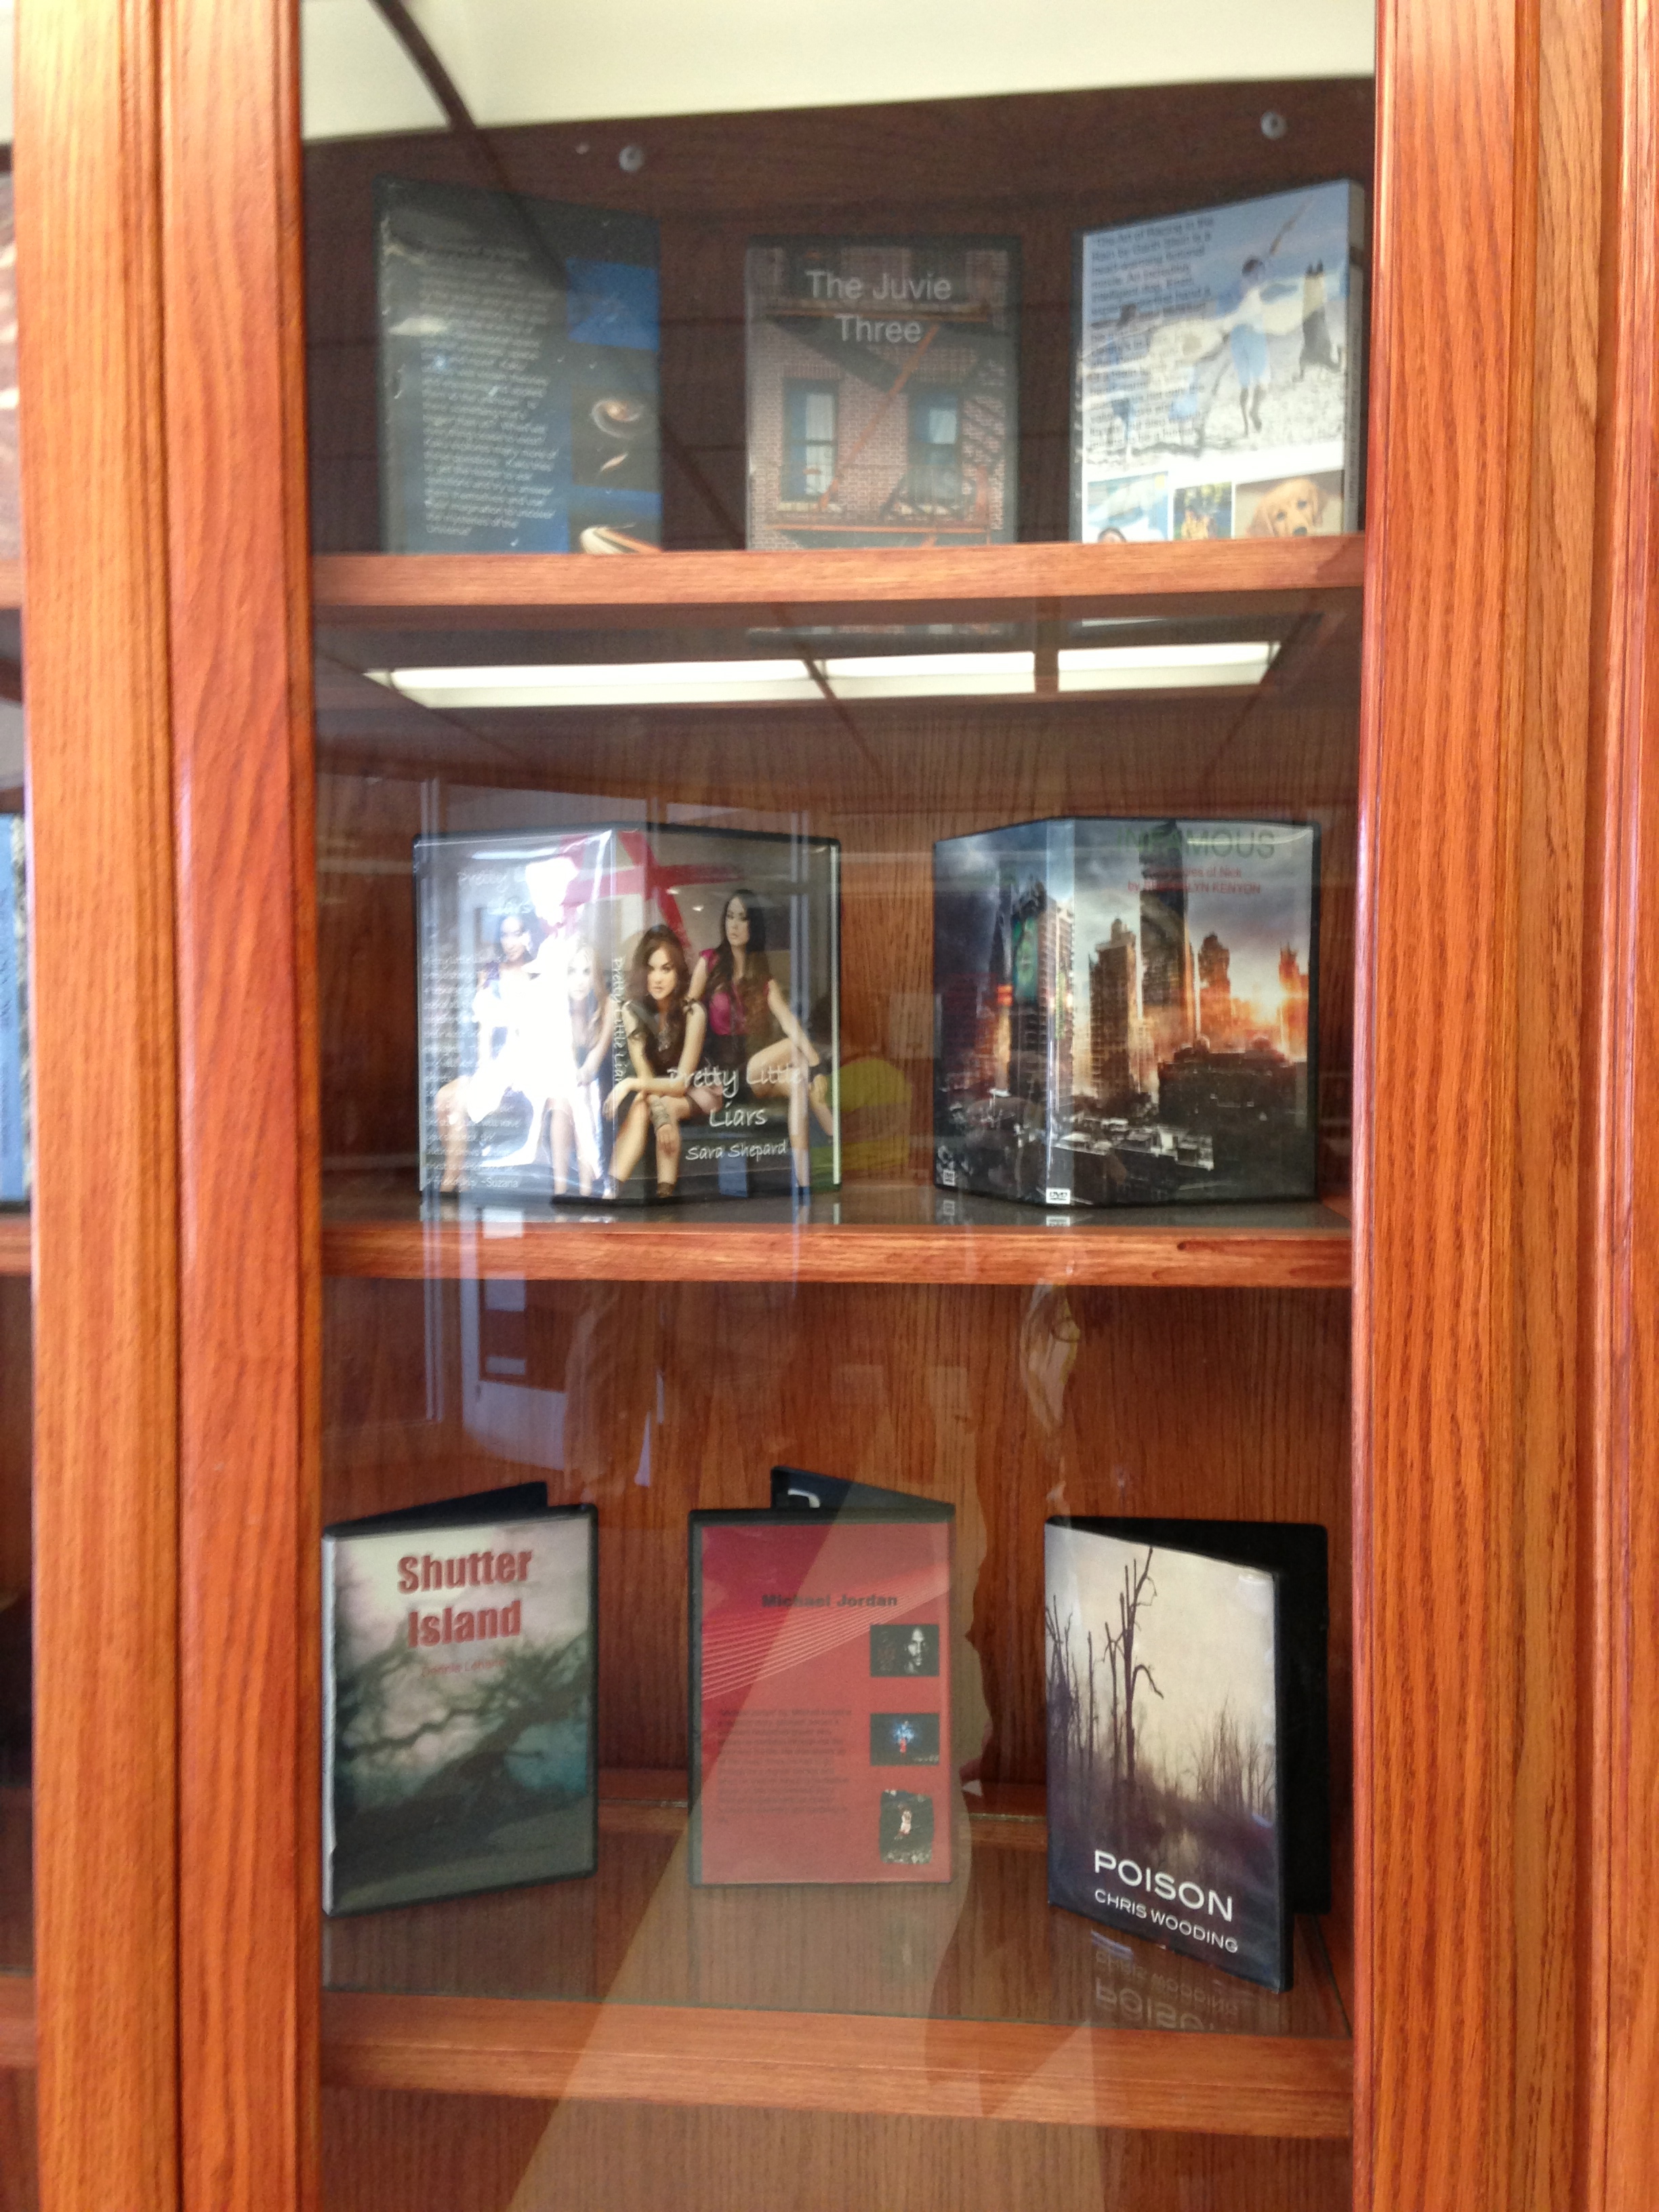
You are looking at the display cases in the front lobby of our middle school. Each and every student got a chance to have their final DVD case (or movie poster) on display for the entire school. In addition, my students got some one-on-one time with 6th and 7th graders to share their project. They read their summary and review quotes on the back, explained the layout and image choices, and answered any questions their audience had – all in hopes of inspiring the student to go and read the book for themselves.
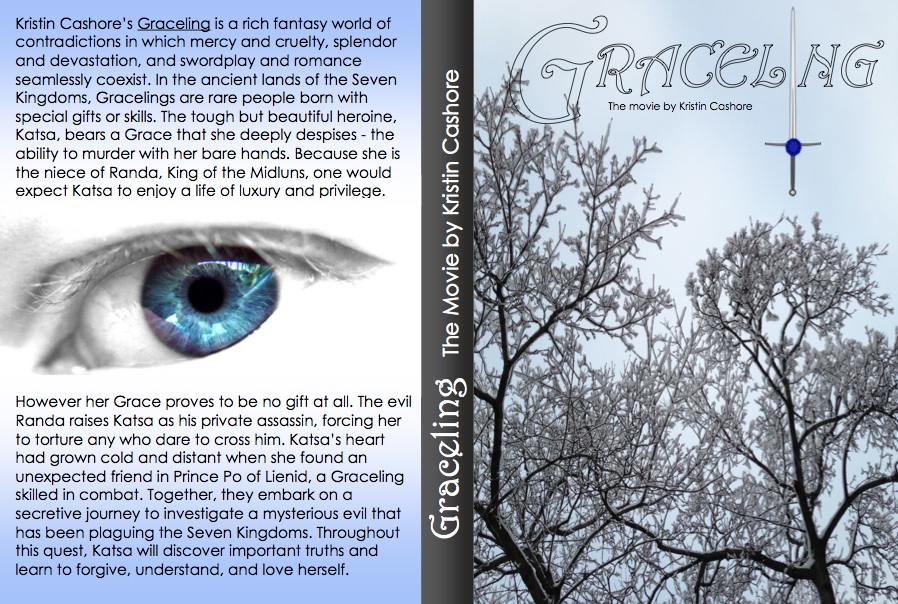
Here is a closer look at a DVD project:
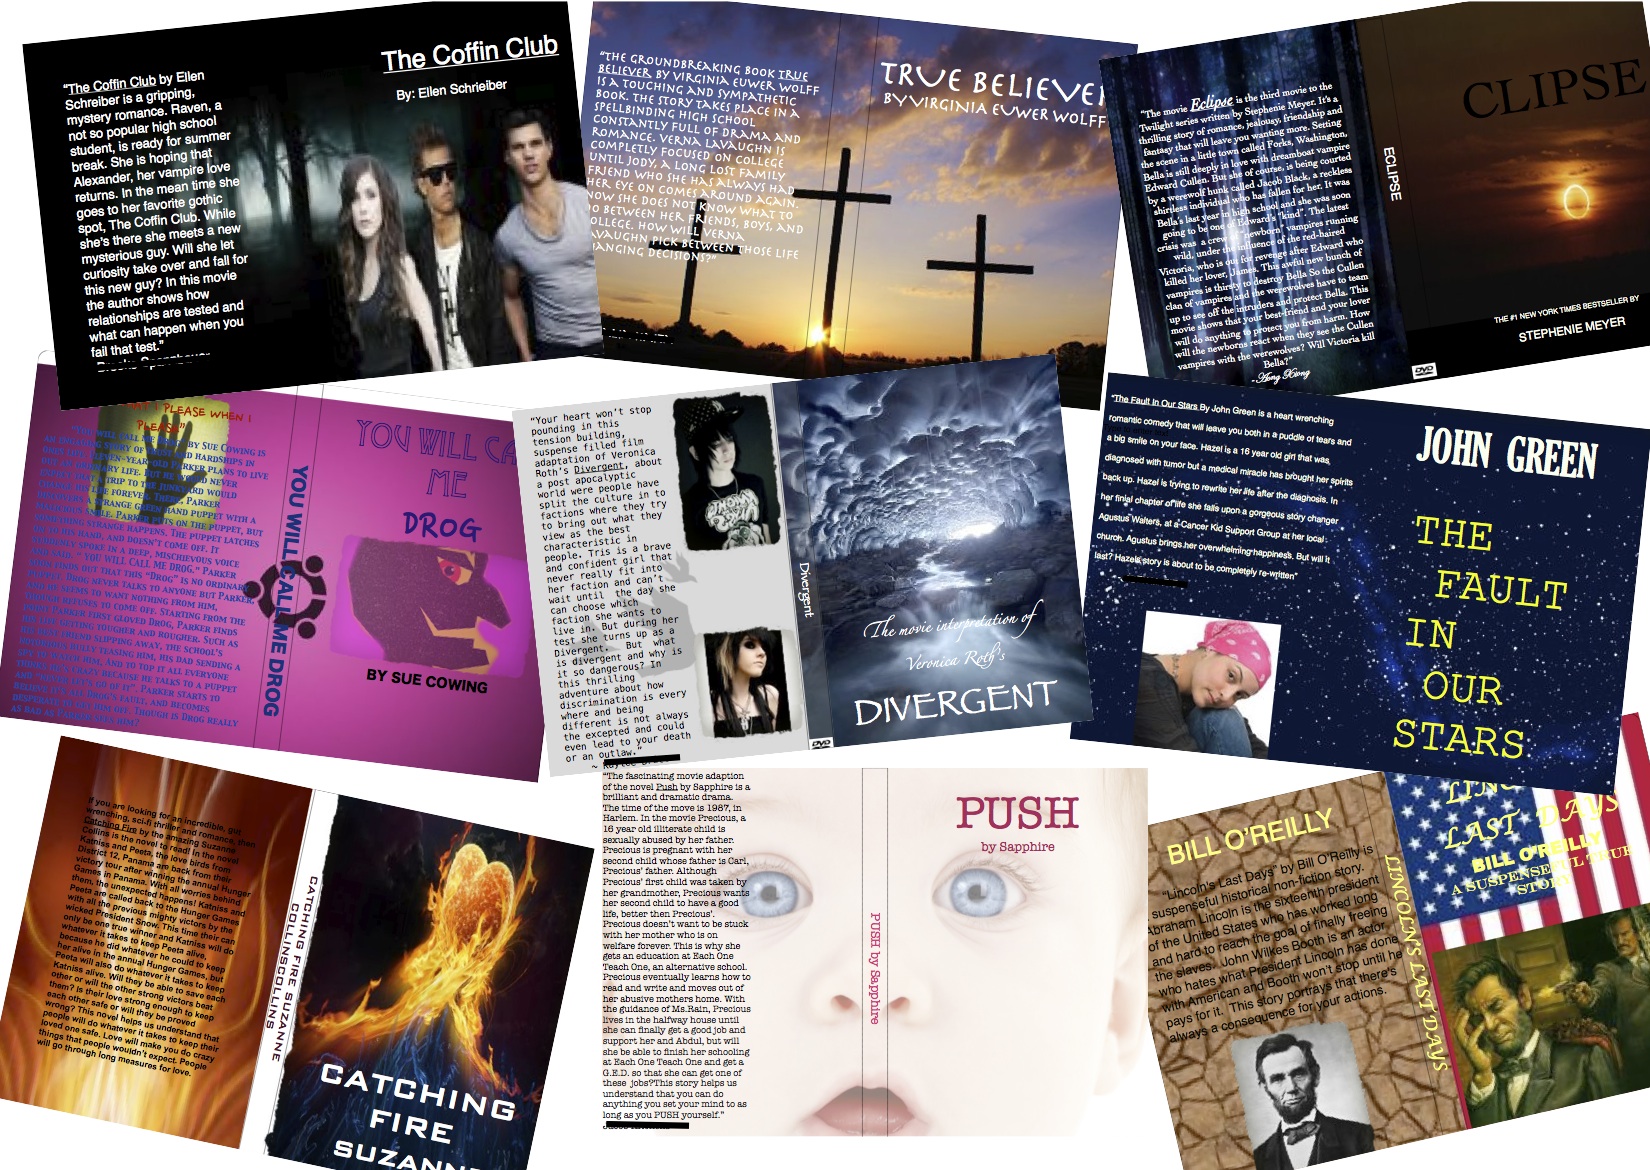
And a collage of my students’ work:
Students begin by selecting an interesting book (can either be a novel or a biography) that is at their appropriate reading level. I introduce this project about 6-8 weeks ahead of time to get students enough warning to finish the book.
After reading the book, students will write what I call a ‘Review Quote’ (a book teaser summary that discusses the theme/message) to promote the book. To do this, we look at the backs of many books, even visit http://www.rottentomatoes.com and http://www.rogerebert.com/reviews to get a feel for the rich language of a teaser/review.
Next, the students will create either a DVD Case or a Movie Poster to promote the book through images as well as words. They really love this part, and I’m not just saying that. Rarely do I hit the money with a project where every single student is working, but this is it. And everyone is working at his/her own pace and area of expertise – artists, techies, writers; they all find their niche and even help one another.
On the day where I introduce the project, I bring in dozens of DVD covers and movie posters for students to view. We discuss similarities and conventions such as the size of the font, placement, purpose of images, etc.
After introducing the project, I wind up giving students 3-4 more days of in-class work time. Now that students have their own iPads, I may cut down this time and expect them to do more homework. On the 5th day, we do the printing and final touches, such as laminating the movie posters or putting the DVD covers in to the cases (I bought 100 from Amazon for about 25 cents each, totally worth it!). The 6th day is for presentations.
I am excited to do this project with the iPads this year, because students can actually go out and take their own photographs. Their goal is to match the mood of the book through color, layout, font, and images. They really do quite a bit of critical thinking with this project.
One of the only problems I have run into is that if their book has already been made into a movie, some students rely very heavily on the movie images. I had to make a rule outlawing this. The results were great, as this ultimately pushed students to be original and dig deeper into their own interpretation of the book.
Something that I learned last year, and will be repeating this year, is that some students like to make their own movie poster / DVD case from scratch, and others need a template to get started. Here is a template I created in Pages for the DVD Case. Students can ‘drag and drop’ their own images:
DVD Cover Template <—- Click to download
The final product can be displayed in your classroom, hallway displays, or as part of a gallery in which you promote the books to other students. The Library Media instructor at our school asked if she could display them in our Library, too!
If you want to purchase and download my DVD case / Movie Poster unit from TpT, the following items are included:
* Common Core Standards for grades 8-12 including English Language Arts and Literacy in All Subjects
* Suggestions for modifying and differentiating this lesson for students at all levels, from heavy support needed to extension ideas.
* Essential Questions
* Rubric
* Project Description Student Handout
* Sample Writing ‘Review Quotes’ with “Hatchet” by Gary Paulsen and “The Giver” by Lois Lowry
* 2 Sample DVD Cases with “Peak” by Roland Smith, and “Graceling” by Kristin Cashore
* 1 Sample Movie Poster
* Word Spectrum – ‘interesting’ to ‘boring’ – 65 synonyms students can incorporate into their writing
* 5 Pages of detailed lesson plans and teacher tips including guided writing, peer review, modeling, small and whole group discussion.
I loved teaching this unit and collaborating with our school’s Art and 21st Century teachers. We found that this unit hits on a LOT of Common Core Standards and curricular goals, which was a huge plus! By working together, we strengthened student learning and participation. Students have told me that this was their favorite project all year!
![]()
